To record vocals in FL Studio: plug your microphone into an audio interface, open the Mixer, set an empty track's input to that microphone, arm the track with the disk icon and press record. That is the whole mechanism. The rest of this is the settings that decide whether the take is worth keeping, and the one problem none of the other guides mention.
What you need
- An audio interface, or a USB microphone. Either one gives FL Studio something to record from. The headphone socket on a laptop will not.
- A microphone and an XLR cable, unless the mic is USB and plugs straight in.
- Closed back headphones. Open ones leak the backing track into the microphone and you will hear it on every quiet line.
Before anything else, press F10 and open Audio Settings. In the Device list, pick your interface's own ASIO driver rather than the generic FL Studio ASIO one. Image-Line recommend this themselves, because the generic driver adds delay. If your interface came with a driver download, that is the one you want.
The setup, in three steps
1. Point a Mixer track at your microphone
Press F9 to open the Mixer. Click an empty insert, press F2 and call it Vocals, because in an hour there will be four of these and you will not remember which is which.
With that insert selected, find the IN menu at the top left of the Mixer and choose the input your microphone is plugged into. If it went into input 1 on the interface, pick input 1, and pick the mono option for a single microphone. The meter on the insert should move when you talk.
2. Set the level on the interface, not in FL Studio
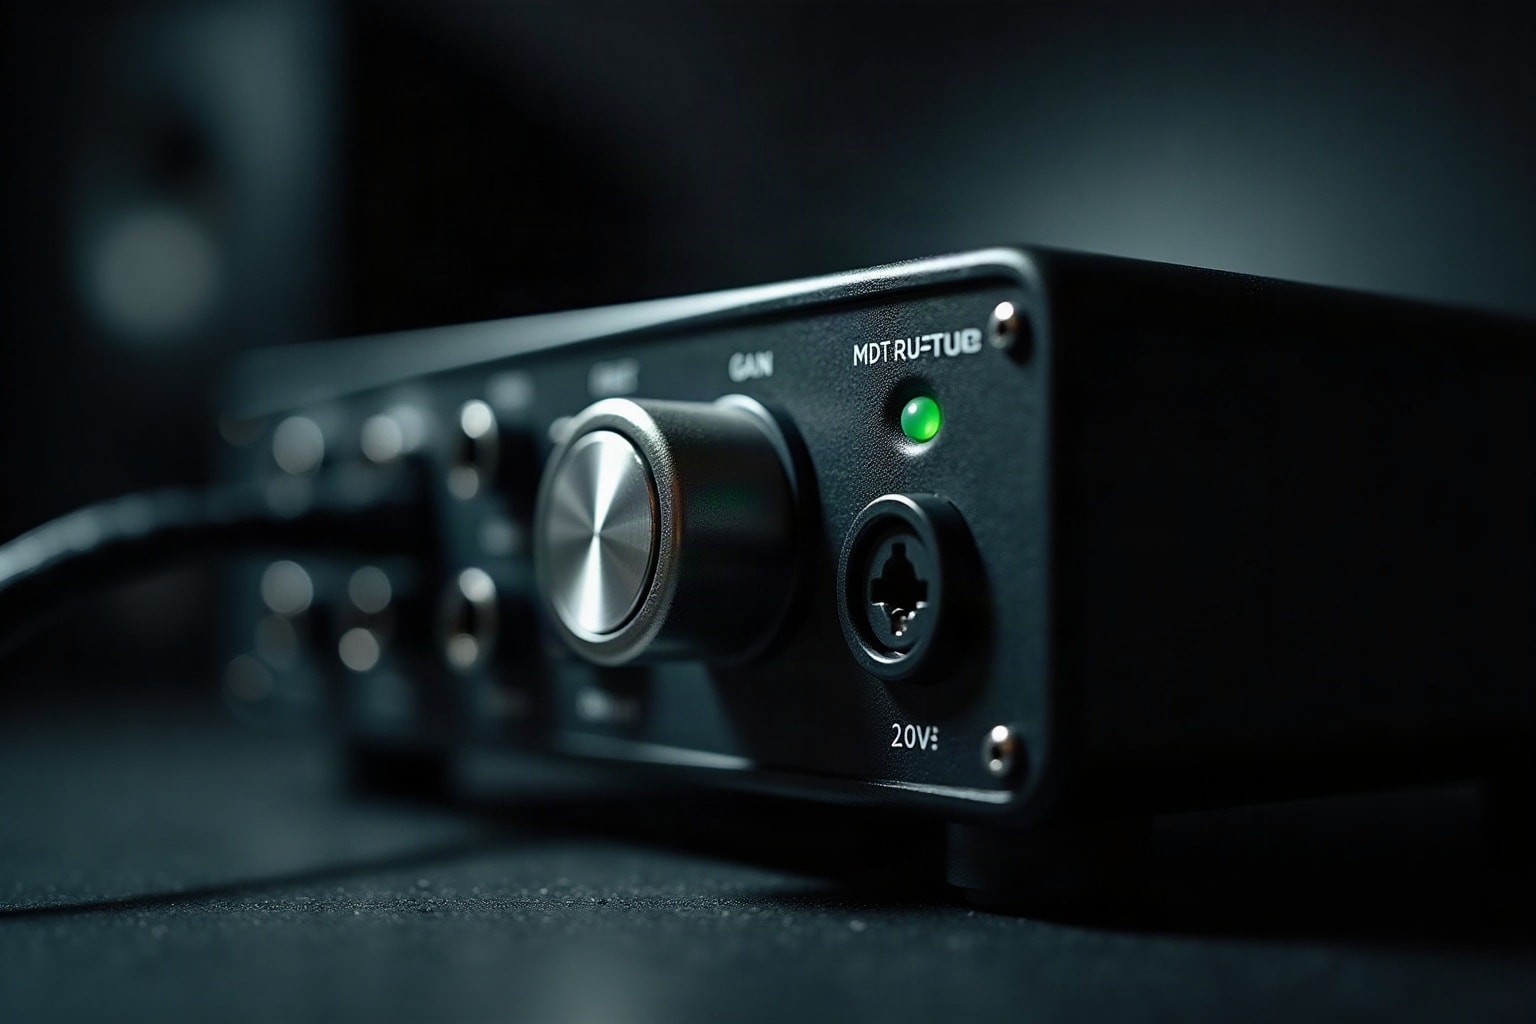
Sing the loudest part of the song and turn the gain knob on the interface until the peaks sit around -12 to -6 dB. Nowhere near the top.
Leaving that much room costs you nothing and it means a line you hit harder than expected does not clip. Clipping is the one thing you cannot fix afterwards. Do not use the Mixer fader for this either. The fader comes after the recording, so it changes what you hear and not what lands on disk.
3. Arm the track and record
Click the small disk icon at the bottom of the insert. It lights orange, which means that track is going to disk. Then arm the record button on the transport at the top of the screen and press play.
You get a four click count-in and then it records. The take appears in your project and the file itself is written to Documents\FL Studio\Audio\Recorded, so it exists on disk whatever happens next.
Three settings to change before the first take
- Direct monitoring, on the interface. If you listen to yourself through FL Studio, your voice makes a round trip through the computer and arrives back a fraction late, which is horrible to sing to. Most interfaces have a knob or a button that sends the microphone straight to the headphones. Use it. If yours does not have one, drop the buffer length in Audio Settings until the delay stops bothering you.
- Latency compensation, on. It is in the Mixer menu under Disk Recording. It lines the recorded file up with the rest of the project. Without it every take sits a few milliseconds late and you spend the evening nudging clips.
- Record with no effects on the track. There is a small selector in front of the IN menu that decides where in the chain FL Studio takes the recording from. Leave it on the input. Image-Line's own advice is to record everything dry and add reverb and compression afterwards, because a take with reverb baked in is a take you cannot change your mind about.
The thing that actually ruins takes
So you are set up. The level is right, the loop is running, you are on take four. And you are reading the words off a phone propped against the monitor.
That is where takes go to die. You look down and your chin drops and the note goes with it. The screen turns off in the middle of verse two. You switch to the notes app and FL Studio loses focus. You half remember the second line and hedge it, and the hedge is audible on the recording.
The words need to be on the same screen as everything else, big enough to read from wherever you are standing.
Lyriquee does that, and it goes exactly where you have spent the last ten minutes working. It is a plugin, so it loads onto a Mixer insert like any effect would. It does not touch the sound. It shows the lyric sheet full size, and it keeps the words inside the project file, so they open with the song instead of living in a document you have to find again.
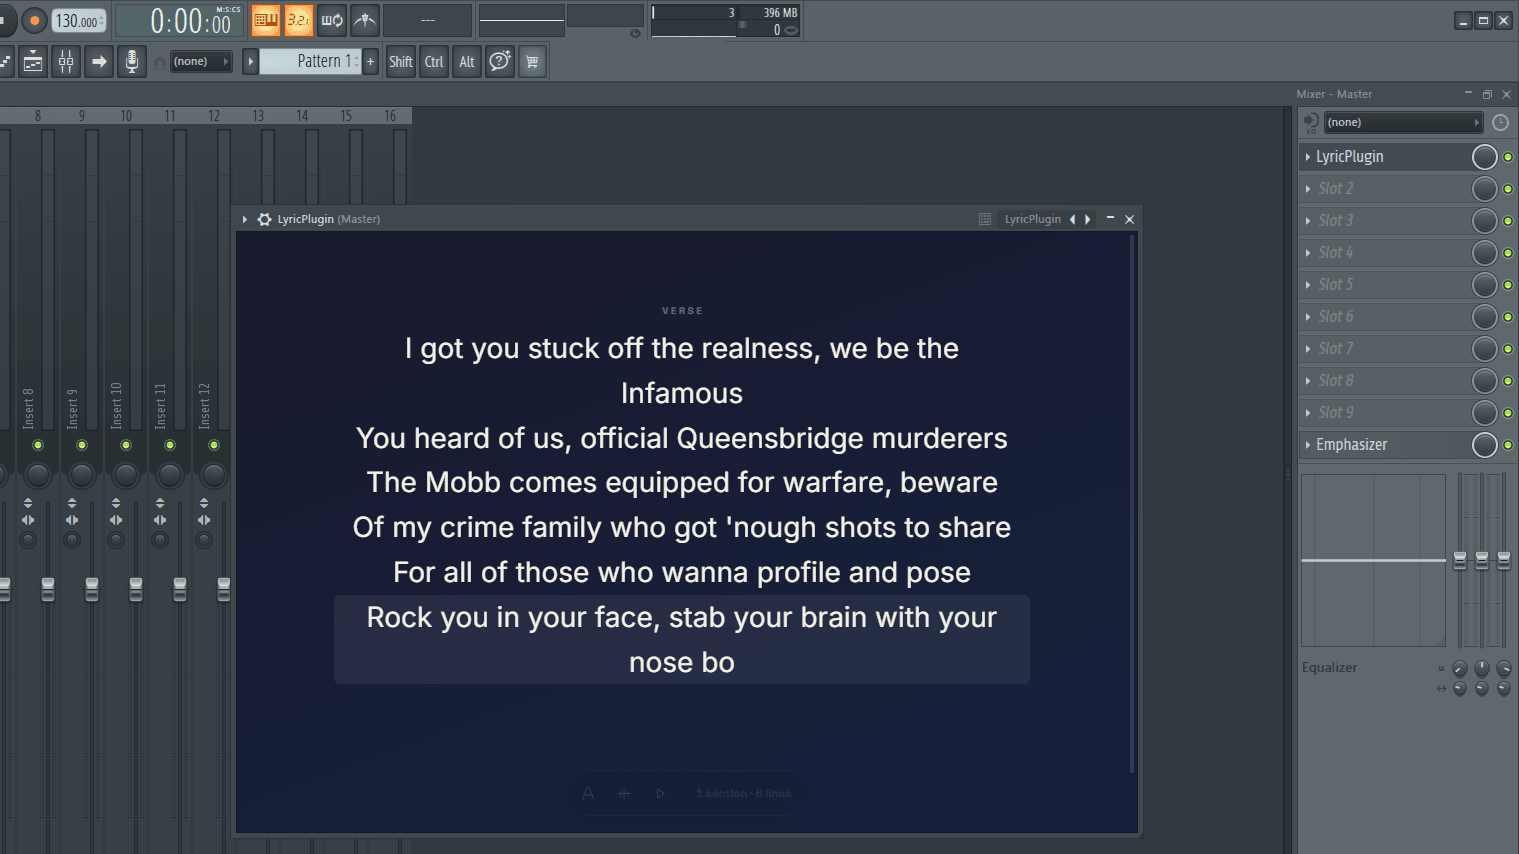
Being a plugin also means it can see the transport. Set the timing once, by playing the song and tapping the space bar at the start of each line, and after that the sheet follows the playhead while you sing. No scrolling with a mouse in the hand you are supposed to be conducting with.
After the take
If you looped, you now have several clips stacked on the Playlist. Keep the best line out of each one rather than hunting for the best whole take. Nobody sings the whole thing perfectly in one pass, and the version people remember is almost always assembled.
Do the tuning and the compression after that, on a copy, and keep the raw take. It weighs nothing and you will want it back at least once.
Mistakes worth avoiding
- Recording quiet and turning it up later. That lifts the room noise and the hiss along with the voice.
- Monitoring through FL Studio on a big buffer. If your voice comes back late, you sing behind the beat to compensate, and you will hear it.
- Open backed headphones on a loud backing track.
- Leaving every insert called Insert 3.
- Reading the words off your phone.
What to do with it next
Once the words are in the project and timed to the song, you are one step away from something you can post. The lyric video is a screen recording at that point, and the whole method is here.